
I am fascinated by how we learn and evolve as creative beings. The creative process is full of rich opportunities to grow and understand our shared experience of being in the world. I know, and constantly witness in others, how the process of making with our hands has the ability to transform us. My ability to navigate my life experiences and move into new territory over the years has deepened my creativity and teaching in ways I could not have imagined. It is my best creative work. -Diane
Shop Featured Patterns
-
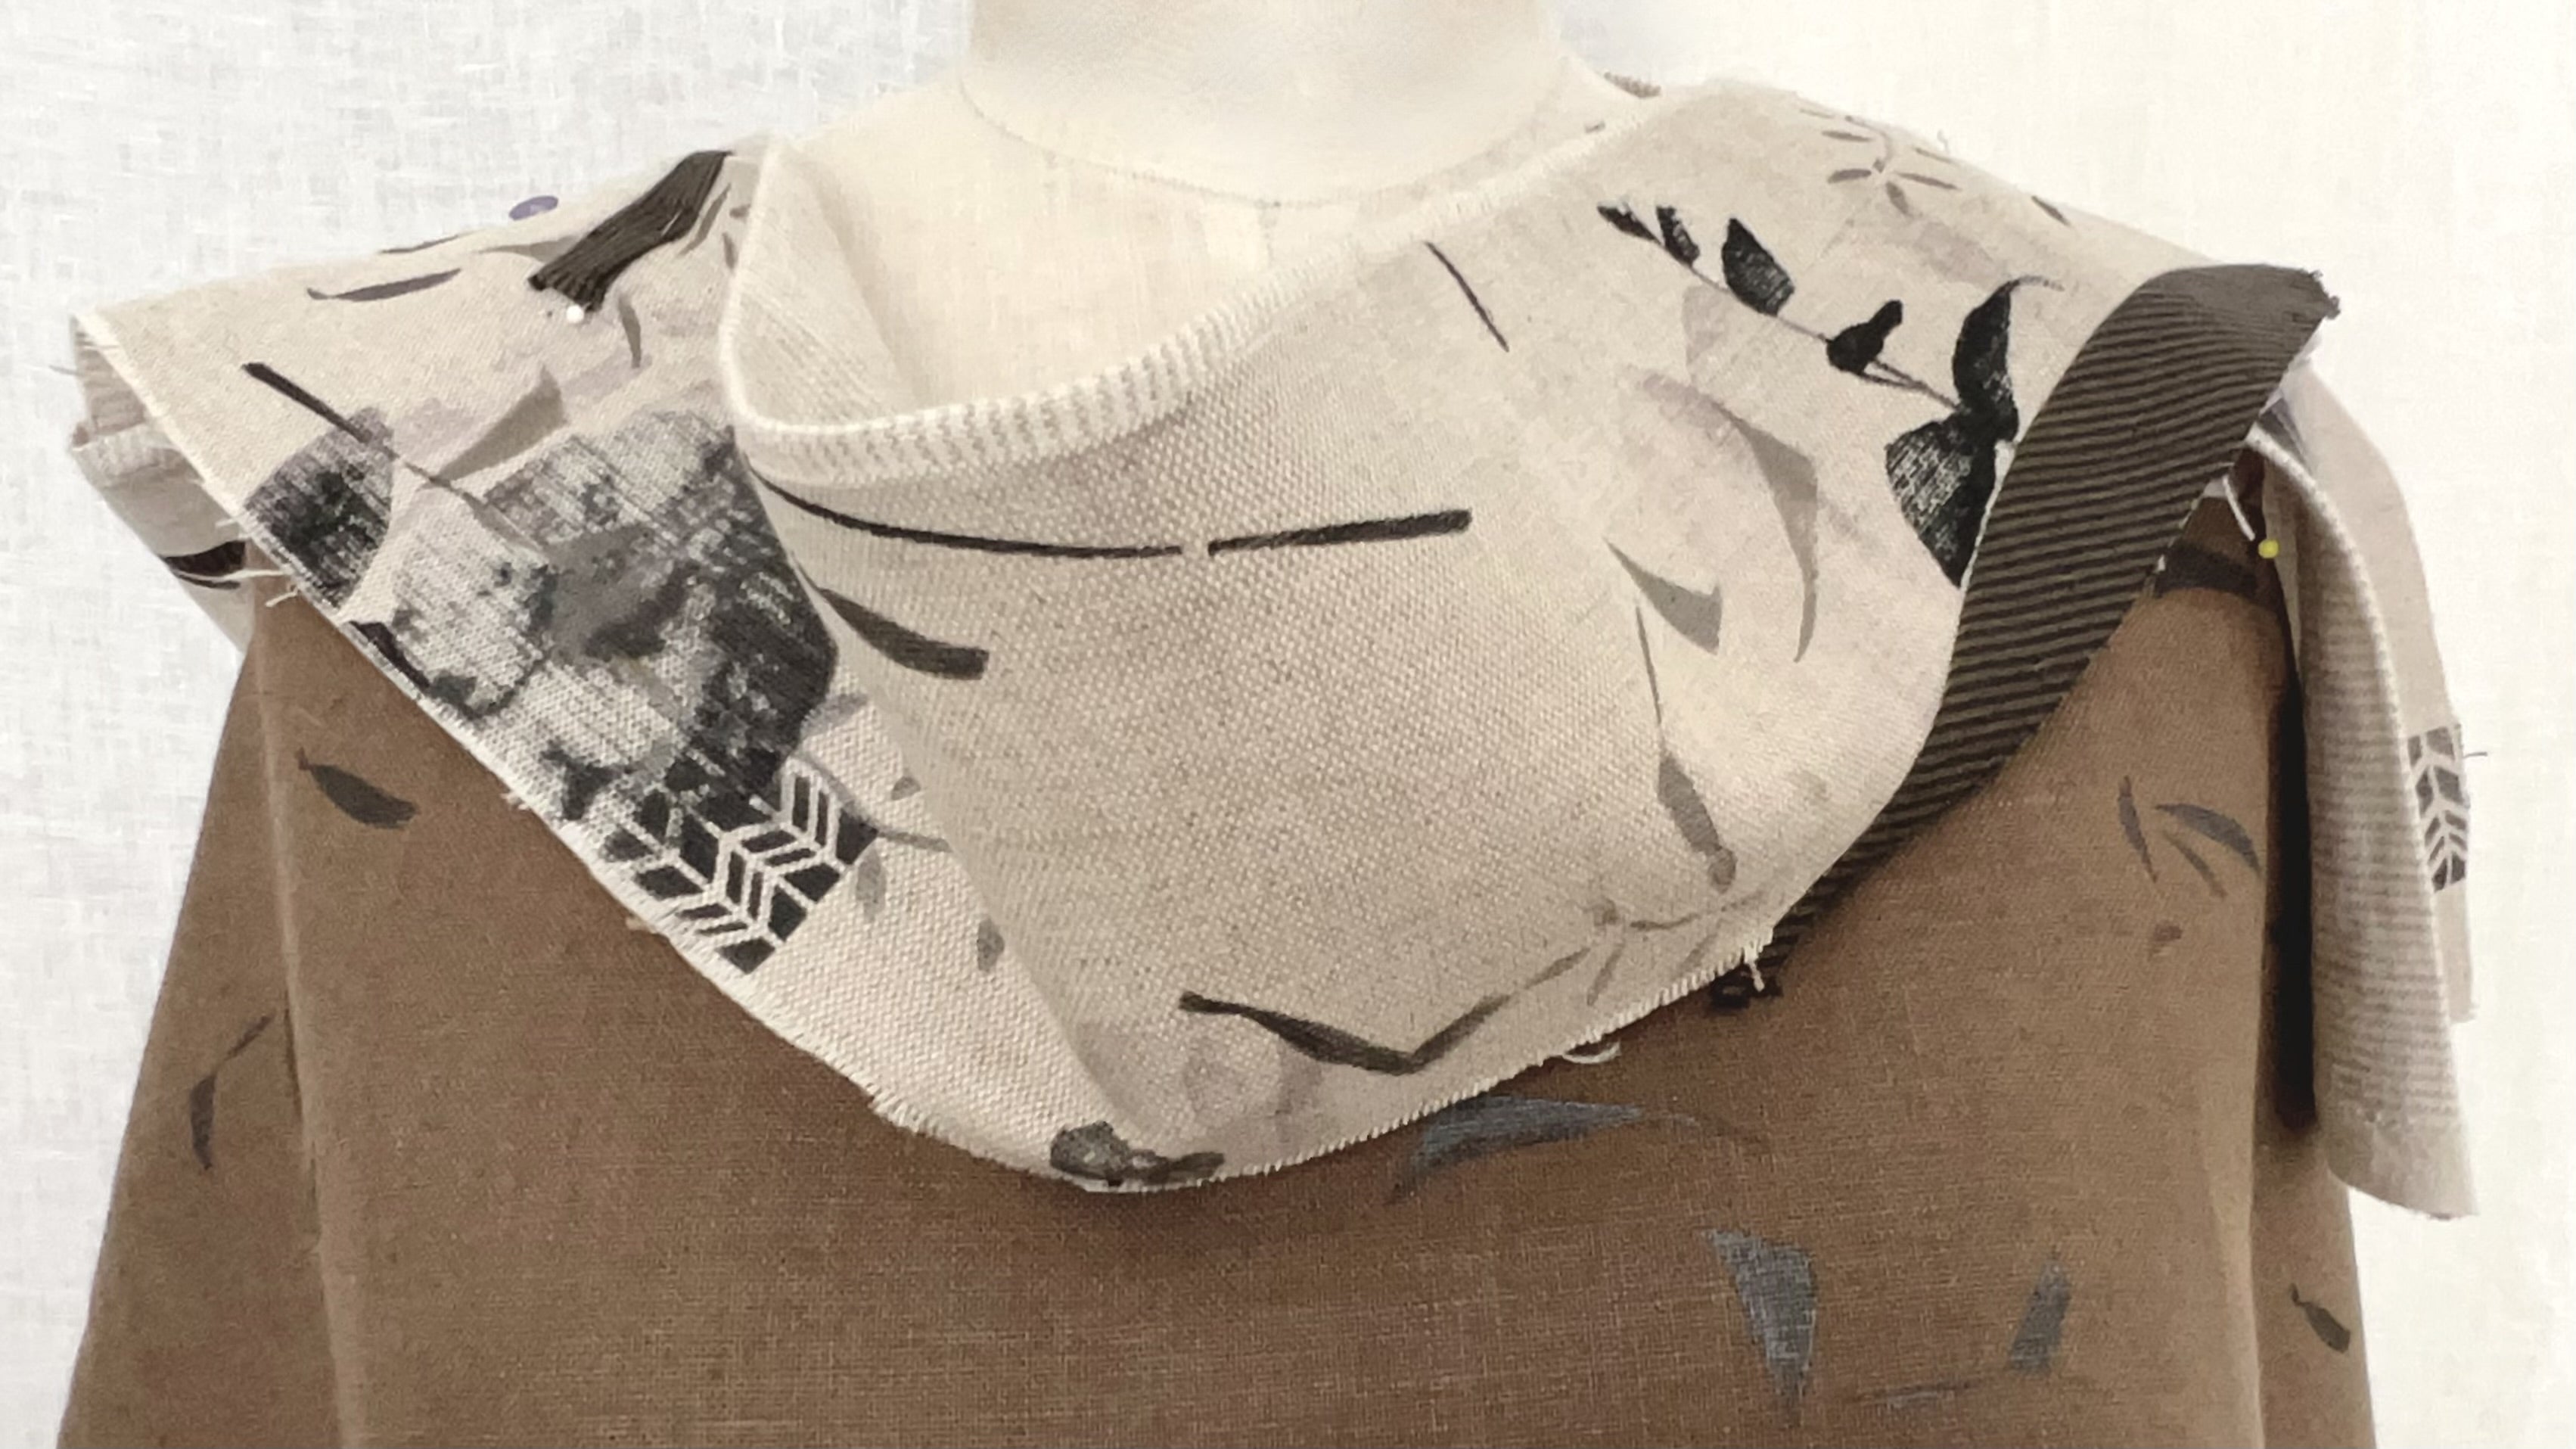
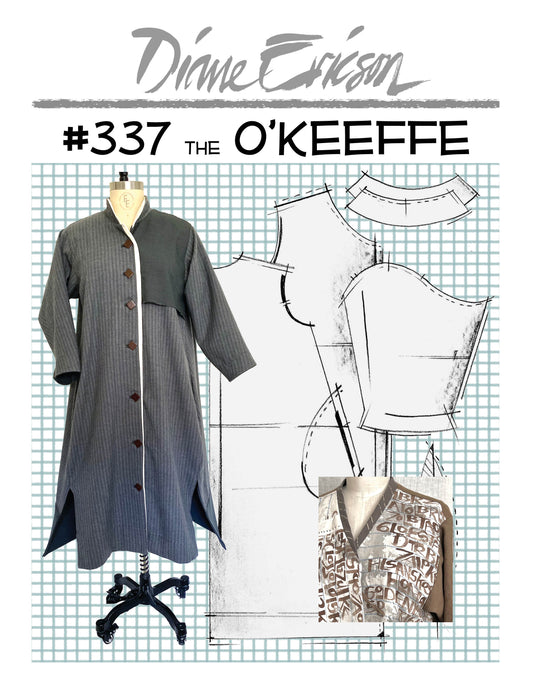
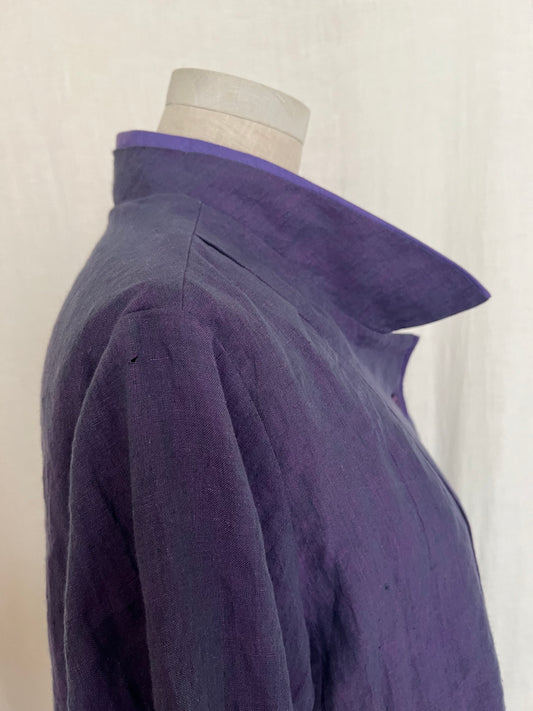
#337 THE O'KEEFFE COATDRESS - PDF PATTERN
Regular price $14.00 USDRegular priceUnit price per -
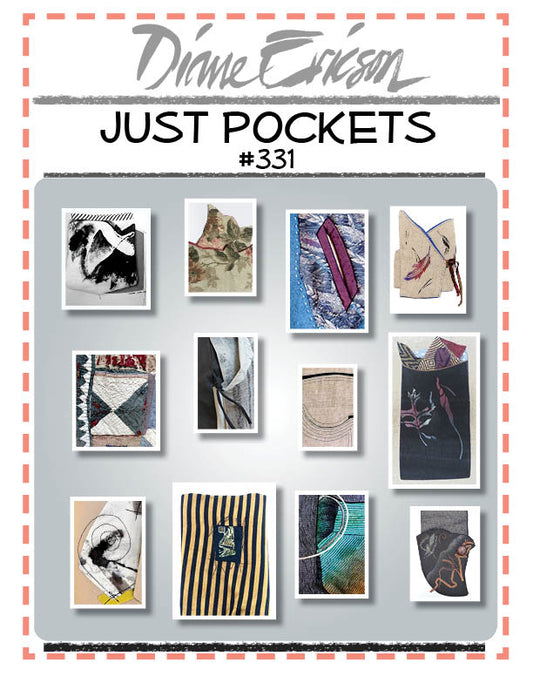
#331 - JUST POCKETS - PDF PATTERN
Regular price $14.00 USDRegular priceUnit price per
Upcoming Retreats
-
Design Outside the Lines - Ashland, OR March 24-29, 2024
Regular price From $600.00 USDRegular priceUnit price per -
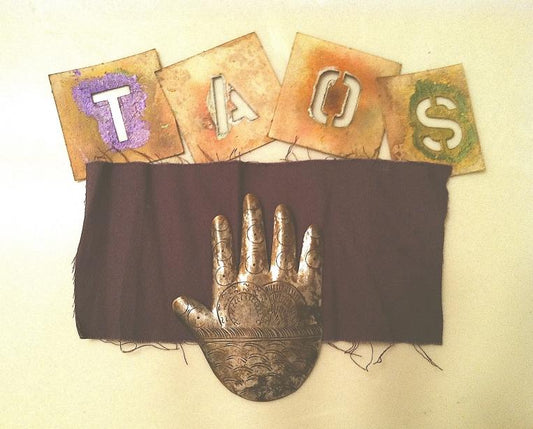
Design Outside the Lines - Taos, NM June 23-28 2024
Regular price From $600.00 USDRegular priceUnit price per -
Design Outside the Lines - Taos, NM September 22-27, 2024
Regular price From $600.00 USDRegular priceUnit price per -
Design Outside the Lines - Ashland, OR October 20-25, 2024
Regular price From $600.00 USDRegular priceUnit price per
Diane's Journal
-
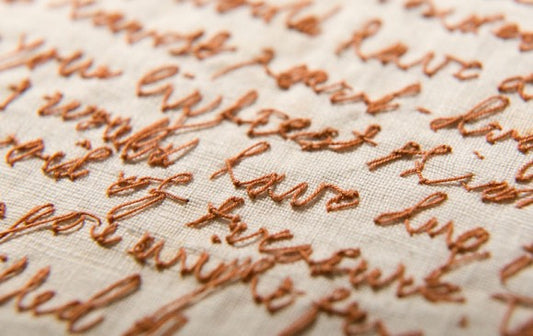
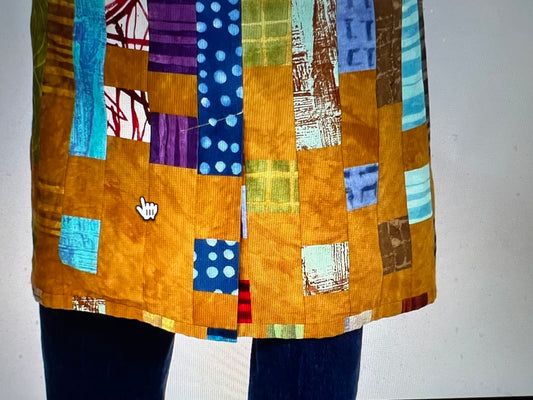
For the Love of Making-
Birthdays have always been moments of reflection and re-investing in my life going forward. Walking, writing and making are ways I celebrate. Making a birthday garment has been a way...
For the Love of Making-
Birthdays have always been moments of reflection and re-investing in my life going forward. Walking, writing and making are ways I celebrate. Making a birthday garment has been a way...
-
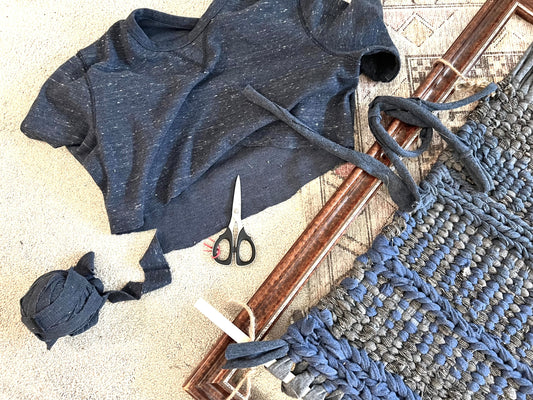
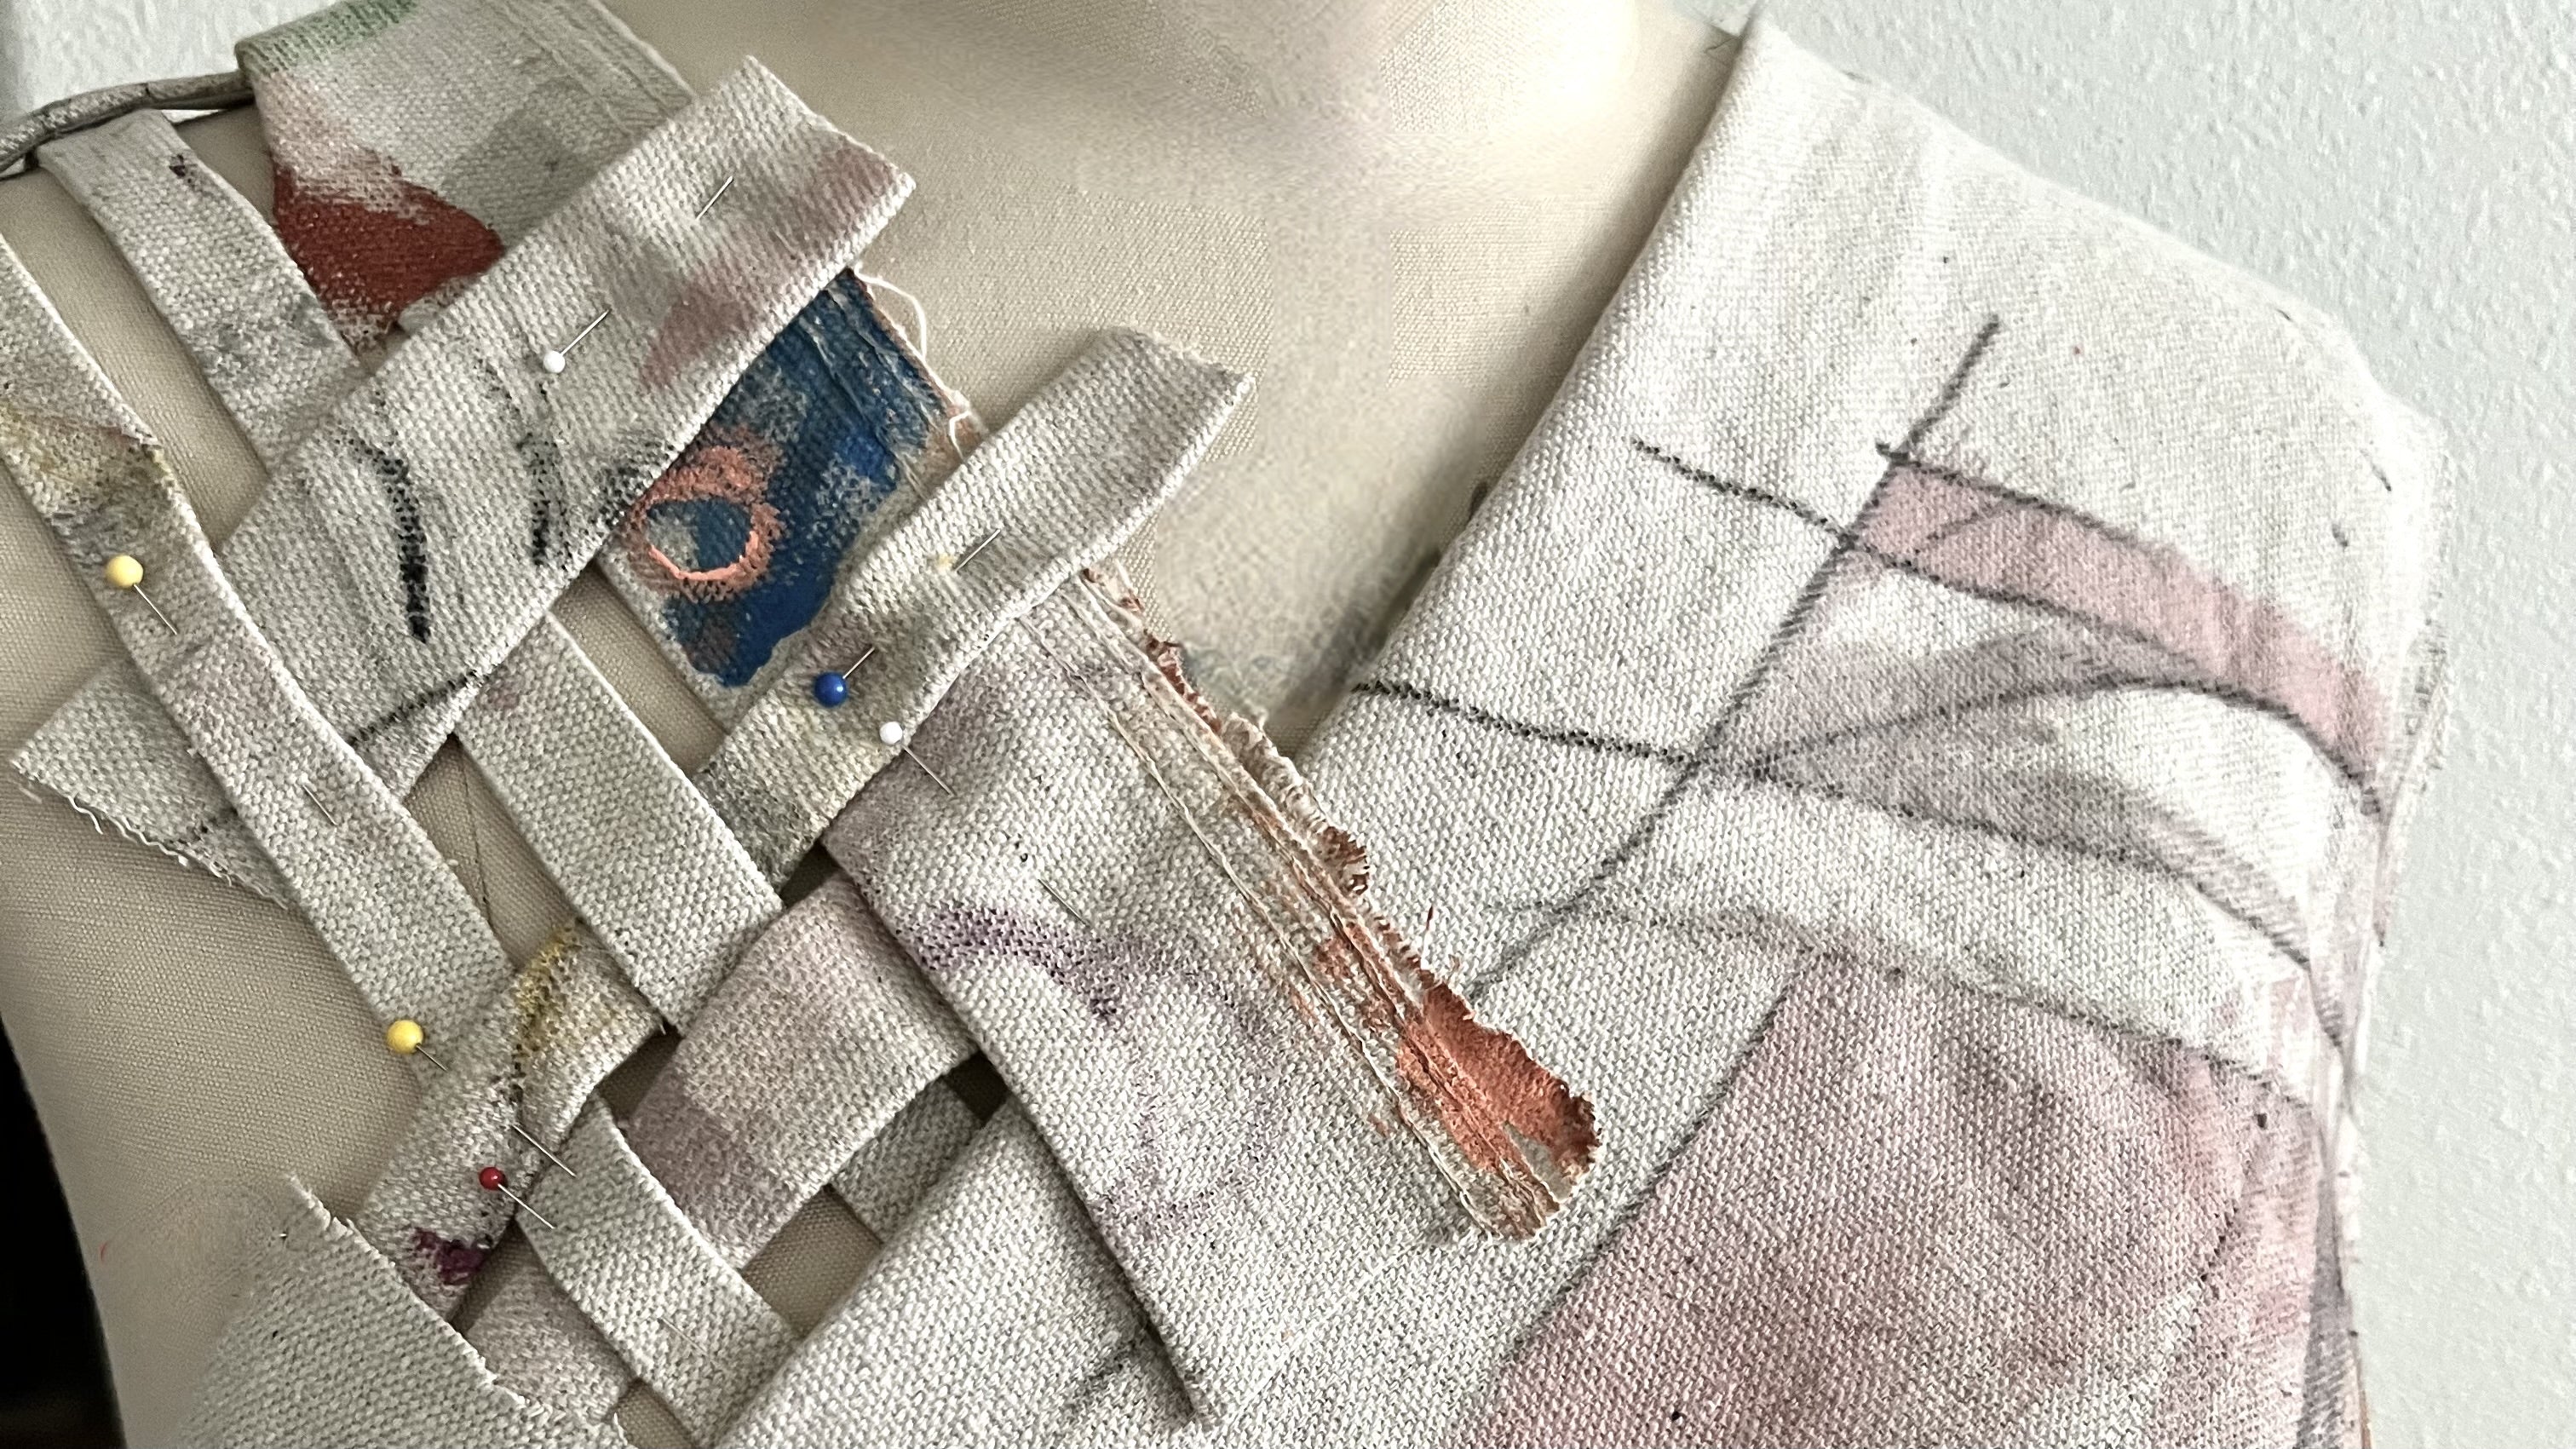
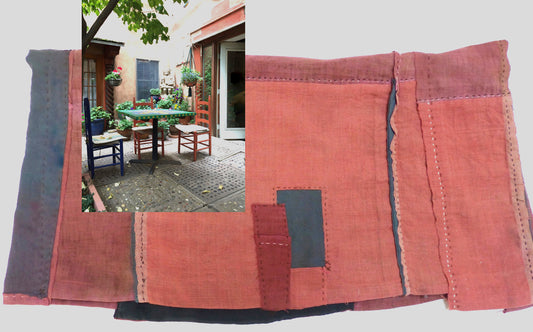
Home Projects: Recycled Weaving
Weaving a winter rug has been my go-to inside project this month as I watch the snow outside. Recycling materials is a great place to start! So before that bag...
Home Projects: Recycled Weaving
Weaving a winter rug has been my go-to inside project this month as I watch the snow outside. Recycling materials is a great place to start! So before that bag...
-
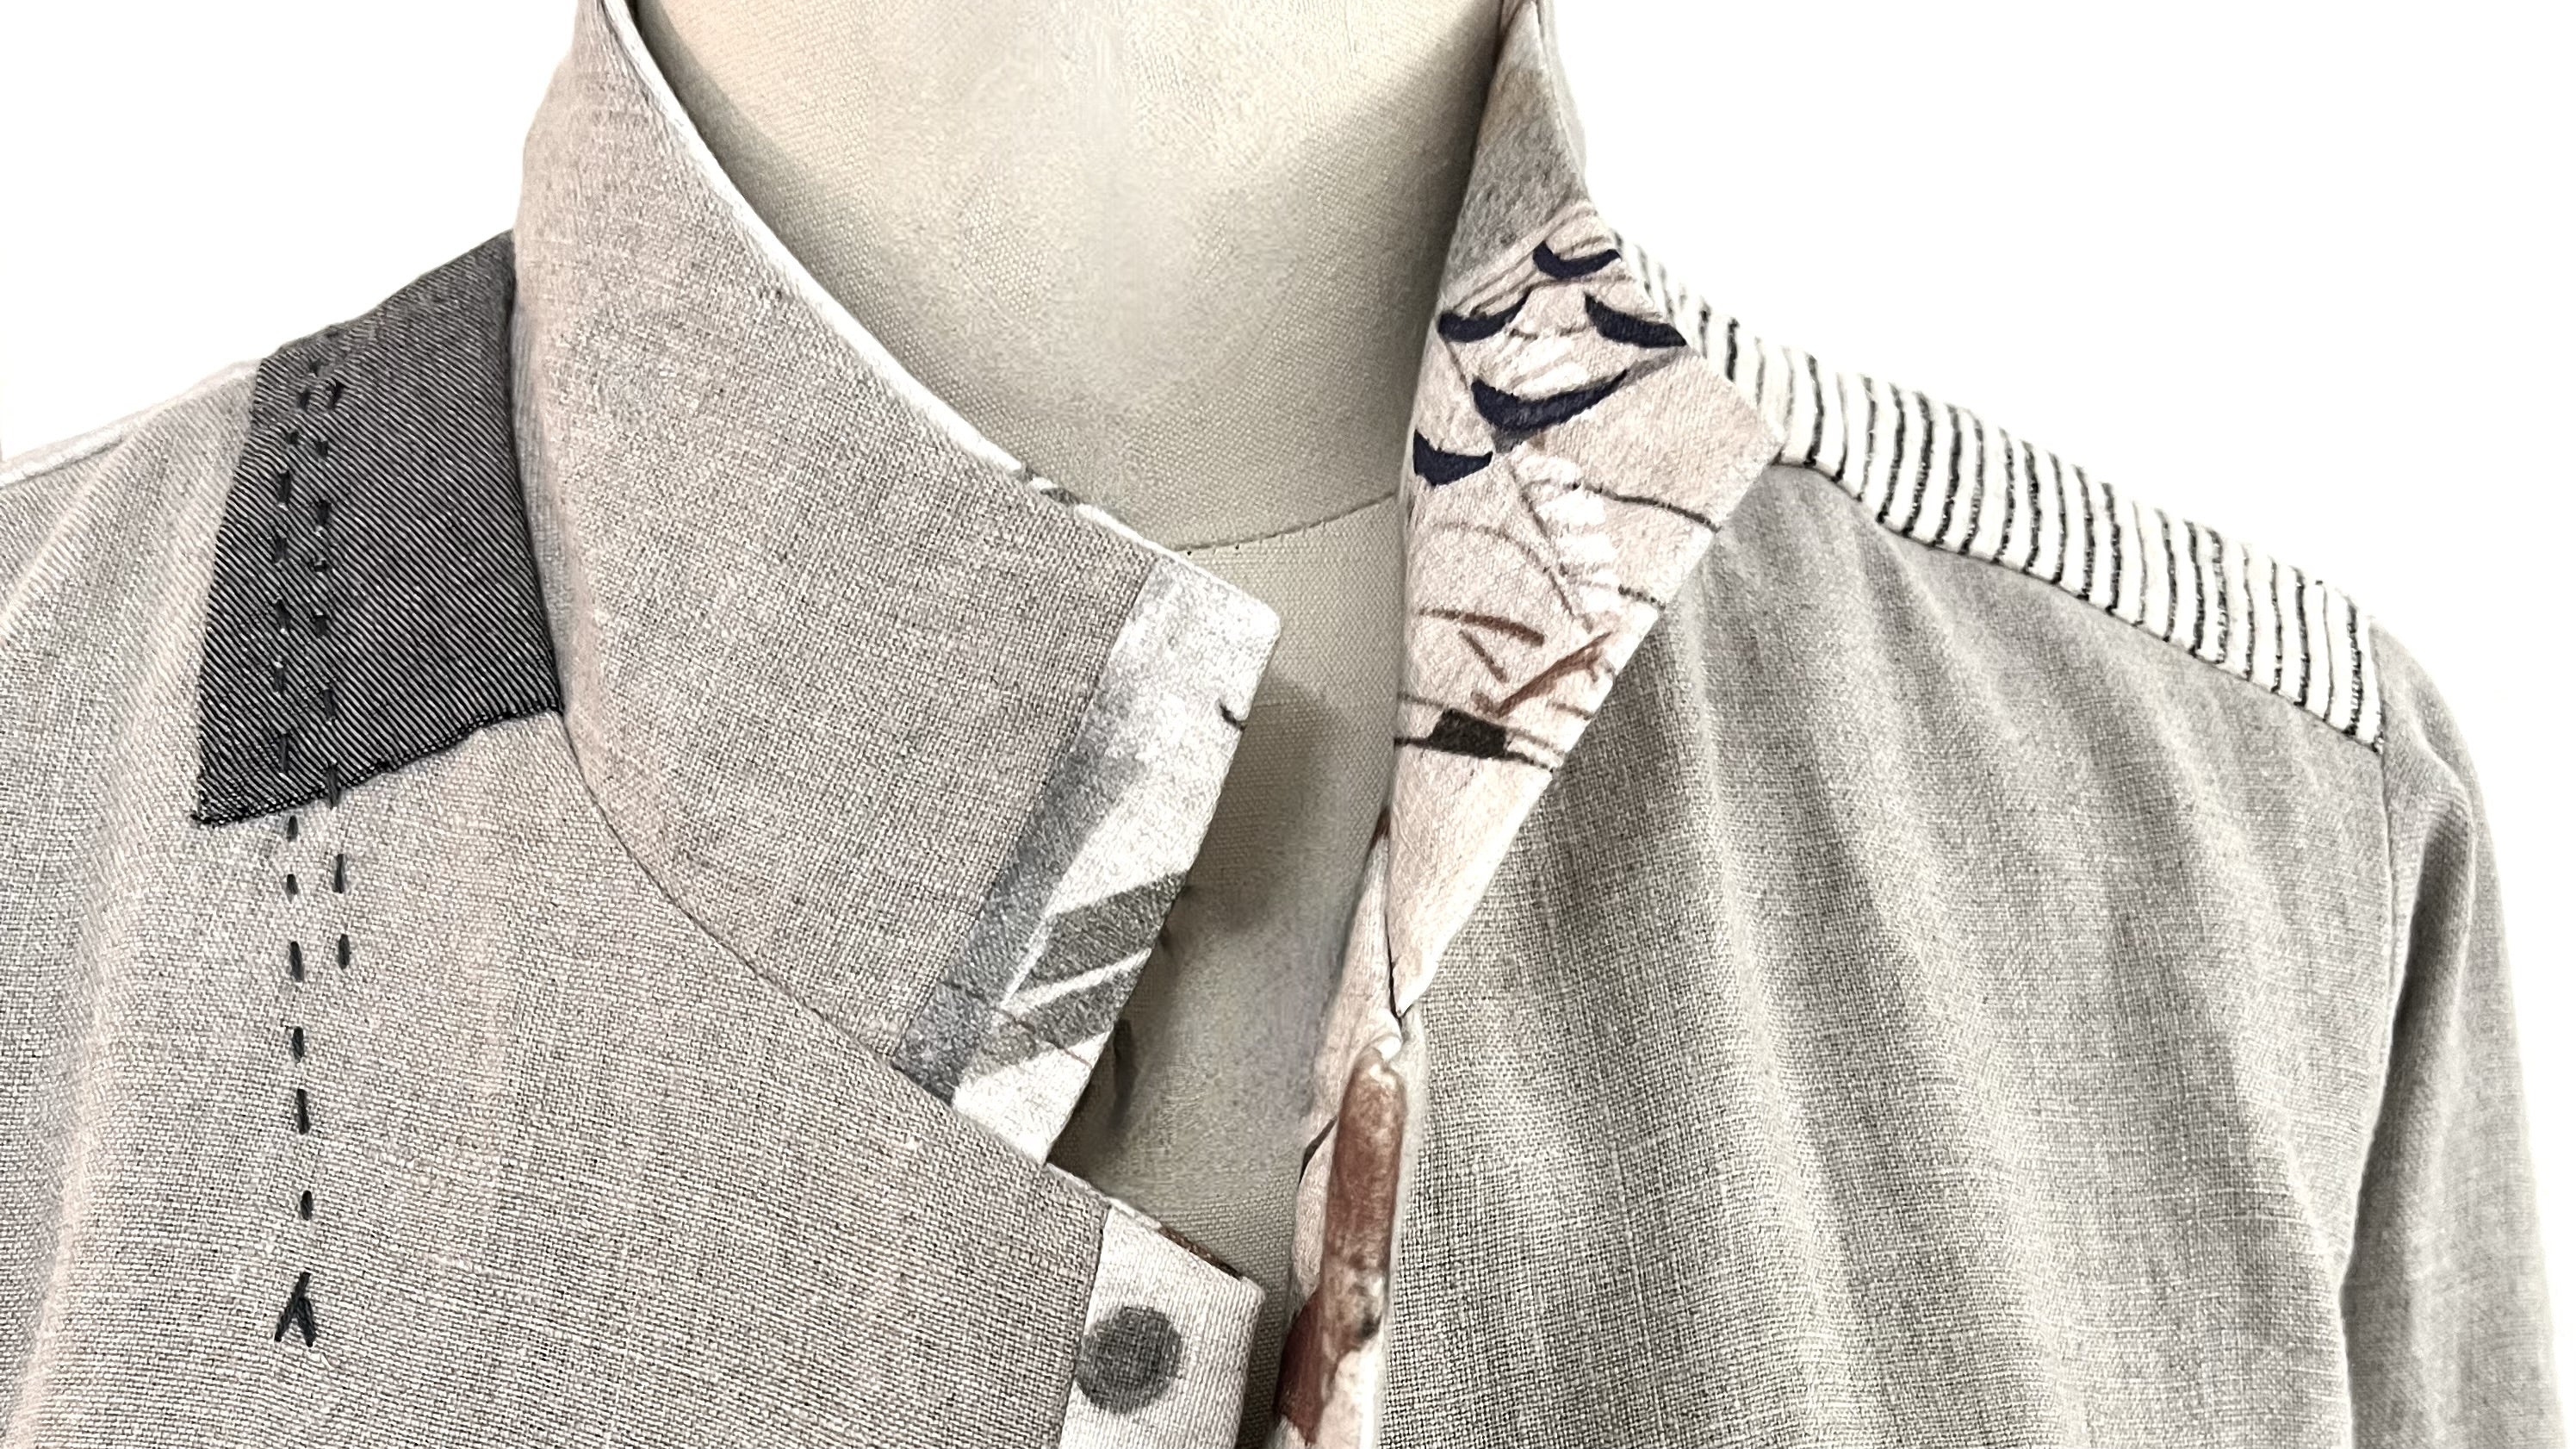
Holiday Stripes & Brocades-DEC '23
This reversible silk brocade FAULTLINES vest is the perfect accessory for several holiday outfits and quick to make- It will make your look, from casual with jeans and high tops...
Holiday Stripes & Brocades-DEC '23
This reversible silk brocade FAULTLINES vest is the perfect accessory for several holiday outfits and quick to make- It will make your look, from casual with jeans and high tops...


Diane on YouTube